Salon Results, Installed by You
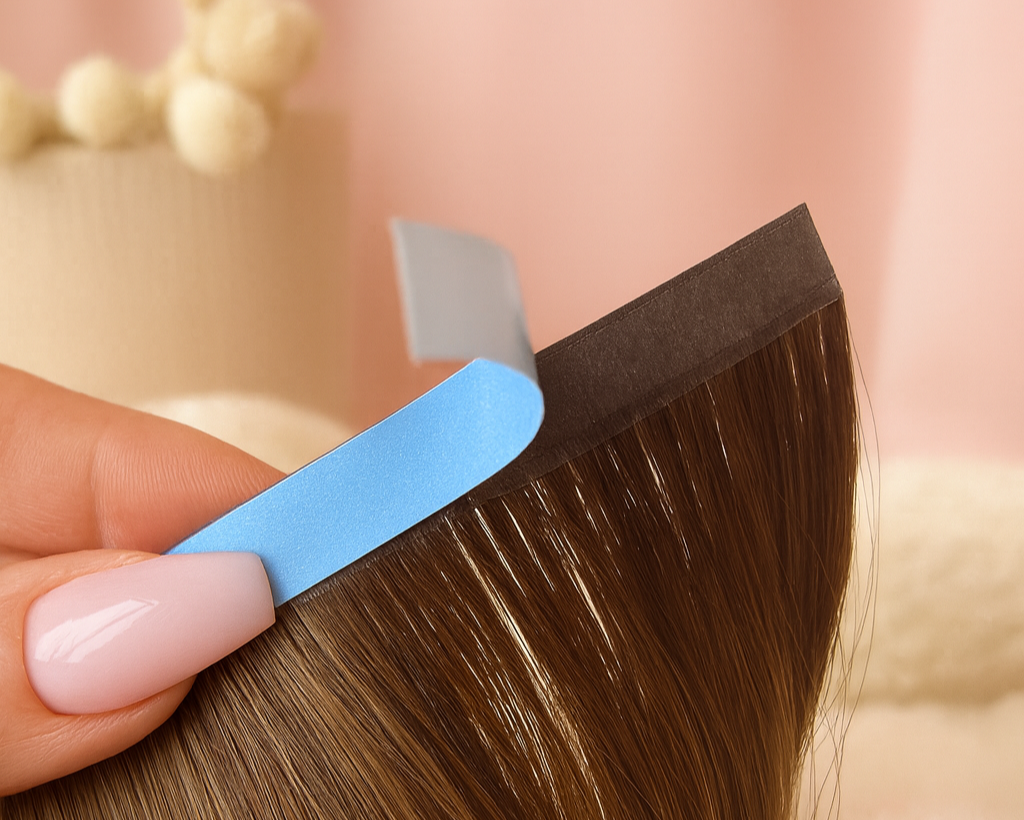
STICK & SLAY™ Invisi Tape Weft
Your at-home solution for flawless, natural-looking length and volume in minutes.
STICK & SLAY™ Invisi Tape Weft
The Hush Hair Stick & Slay™ Invisi Tape Weft is your at-home solution for flawless, natural-looking length and volume — designed for beginners and professionals alike. Salon-Worthy Hair, Installed by You.
✨ Key Features
- Premium Quality Hair: 100% luxury Remy human hair.
- Full hair coverage right to the top of the band ensures a flawless, natural finish.
- Reusable: Lasts 4–6 weeks per wear and can be re-taped and reapplied multiple times for up to 12 months with the right care.
- DIY Friendly: No stylist required — clear step-by-step guide included.
- Quick Install: Apply at home in under an hour with minimal tools.
- Comfortable Wear: Ultra-thin tape bonds sit flat to the scalp for a seamless finish.
🔧 Tools & Add-Ons
Everything you need to install at home is available in our Stick & Slay™ Tool Kit, including:
- Sectioning comb & clips
- Clamping pliers
- Replacement tapes for re-application
💡 Why You’ll Love It
- Save hundreds on salon installs.
- Install and remove on your own schedule.
- Refresh and reuse for up to a year.
STICK & SLAY™ Install Guide
How to Apply Invisi Tape-In Wefts at Home.
Applying your own extensions at home is easier than you think. With the right prep, tools, and a little practice, you can achieve a flawless, salon-worthy finish — all from your own mirror.
Amount needed
Firstly, it is important to define your hair type and the number of layers you need to wear:
-
Fine / Thin Hair: 1–2 layers of tape-ins. Start about 2-3 inches from your nape, keeping placement lower for a natural finish.
-
Medium Hair: 2–3 layers. Begin around 2 inches from the nape, then add another section 3–4 inches higher for volume.
-
Thick Hair: 3–4 layers. Space your first layer around 2 inches from the nape, then work up the head, focusing on mid-to-upper sections for a full result.
Step A: Prep Your Hair
Hair Condition Matters
-
Wash with a clarifying shampoo only (no conditioner). This ensures the hair is free from oils and product build-up so the tape sticks properly.
-
Dry completely before application. Extensions should always be applied to 100% dry, clean hair.
Tools You’ll Need
- Tail comb
- Sectioning clips
- Small scissors
- Stick & Slay™ tapes (single or double-sided)
- Pliers to seal tapes
Step B: Apply
Step 1:
Section your hair cleanly with a tail comb. Create horizontal or diagonal partings — avoid curved lines to keep tapes flat.
Step 2:
Place the tape about 5mm away from the scalp, so it sits flat but still allows natural movement at the roots without pulling.
Step 3:
Check for stray baby hairs. Use your comb or fingers to make sure only the section you want is included. Remove any stray or cross over hairs. Clean sectioning is key to a safe install.
Step 4:
Sandwich the section:
- Peel and stick the first weft under or above the section the section. For single rows, place tape weft on top of the section.
- For double rows, press the second weft directly on top, trapping/sandwiching your natural hair in between.
- Use fingers or pliers to press the tapes tightly together.
Repeat this process section by section, working your way up the head until all layers are applied.
Step C: First 48 Hours After Application
The tape bond is setting — treat it gently.
-
Hands Off: Don’t play with or tug at your new extensions.
-
Stay Dry: Avoid washing, sweating, or swimming.
-
No Heat: Skip blow-drying, straightening, or curling for the first 48 hours.
-
Sleep Smart: Braid or tie your hair loosely before bed and use a silk pillowcase to reduce friction.
Quick Tips for a Seamless Look
-
Always keep sections clean and even — this makes your install invisible.
-
Curls or waves help blend wefts beautifully.
-
Use a mirror setup to check the back of your head for blind spots.
✨ That’s it — your Stick & Slay™ install is complete. With just a little practice, you’ll be applying extensions like a pro from home.


